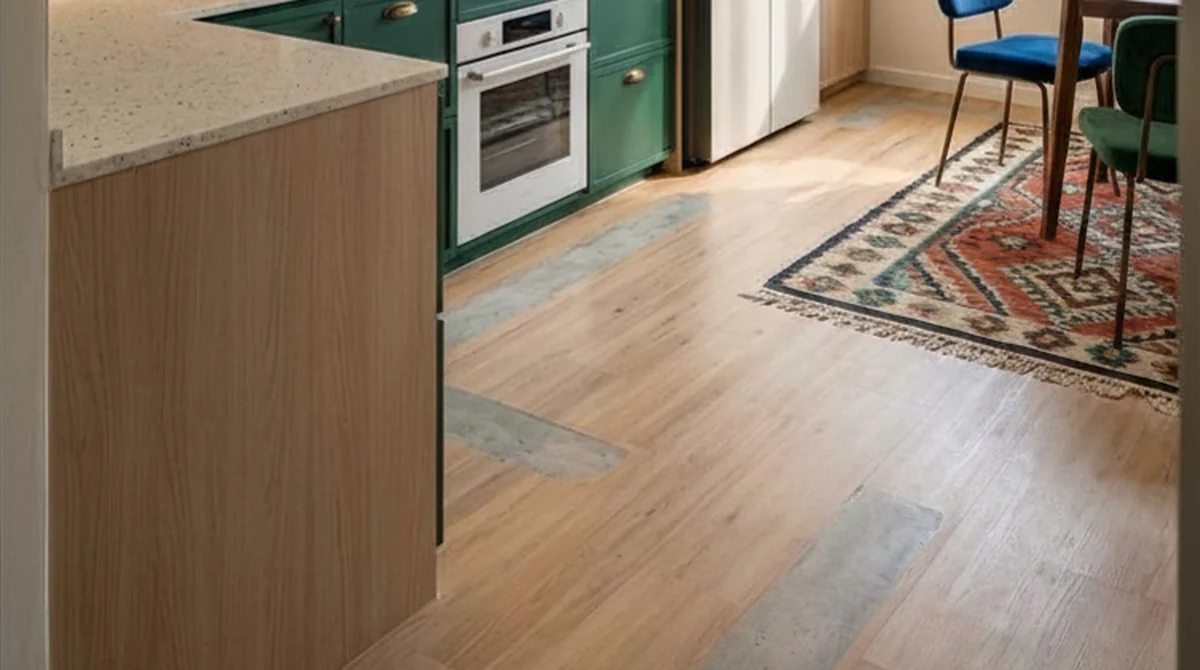
Vinyl overlay installation is typically completed in a single day for most HDB flat types, regardless of size, provided sufficient manpower is deployed. Tile hacking takes longer: hacking and screed preparation are done together on Day 1, followed by tile laying and curing. Here's what each timeline looks like from start to finish.
Why the Installation Method Changes Everything
The single biggest factor in how long your flooring takes is whether you choose overlay (laying vinyl directly over existing tiles) or tile hacking (removing existing tiles before installing new flooring). These are not minor variations. They produce entirely different renovation experiences.
Overlay is quiet, fast, and produces no dust. Tile hacking is subject to HDB or MCST approval and requires advance coordination with your neighbours. Most LN Flooring customers choose overlay for this reason, and also because modern click-lock LVT overlay results are indistinguishable from hacked-and-relaid floors once completed. Read our complete guide to overlay flooring for HDB flats for more detail.
One thing to be clear about before the timelines: we supply and install our own-brand LVT vinyl, tile, and wall panels. SPC is a rigid-core plank other suppliers in Singapore carry — we do not stock it. If that is what you have been shown, the LN Korea Series is the closest match in our range, and it goes down on the same one-day overlay timeline below.
Vinyl Overlay Installation Timeline
During the site visit, our team inspects the existing tile surface for cracked, loose, or uneven areas that need to be addressed before overlay. Room dimensions are measured, layout direction is confirmed, and any levelling requirements are noted. This is all done at confirmation of the project, so the installation team arrives on day one ready to go straight into laying.
The team arrives at 9am and gets straight into laying. For a standard HDB flat, installation runs 7–8 hours from first plank to last. Click-lock LVT planks float over the existing surface with no adhesive required, which keeps the process clean and fast.
Door frame bottoms are planed down to accommodate the added floor height as the installation reaches each doorway, rather than at the end. This keeps the workflow continuous and avoids bottlenecks at the final inspection stage.
Skirting boards are installed or re-fitted once all planks are down. The crew completes a final walkthrough checking for any gaps, raised edges, or alignment issues. Cleanup is done before the team leaves.
Most HDB flats, including 5-room units, are completed in a single day. The timeline depends on manpower deployed, not flat size alone. You can walk on the floor immediately after installation. No curing time is required for click-lock vinyl. Furniture can be moved back in the same evening.
By HDB Flat Type: Expected Duration
| Flat Type | Approx. Floor Area | Vinyl Overlay | Tile Hacking + New Tiles |
|---|---|---|---|
| 2-room Flexi | 45–50 sqm | 1 day | 3 days |
| 3-room | 65–75 sqm | 1 day | 3–4 days |
| 4-room | 90–110 sqm | 1 day | 4 days |
| 5-room | 110–130 sqm | 1 day | 4–5 days |
| Executive / Jumbo | 130–160 sqm | 1–2 days | 5–6 days |
Tile Hacking Timeline: What to Expect
If you are hacking existing tiles and replacing them (either with new tiles or with vinyl after a clean substrate), here is the realistic timeline for a 4-room HDB flat. Note that tile hacking is subject to HDB or MCST approval and advance coordination with neighbouring units. We lay tile as well as vinyl, so if a tiled finish is what you want, the extra days are simply what a proper tile job takes: see our tile supply and installation service.
Hacking and screed preparation are completed on the same day. The existing tiles are removed, debris is bagged and cleared from the flat, and the concrete substrate is inspected. Uneven areas are filled and levelled in preparation for tile laying. This is the loudest and most disruptive phase, and it is permitted between 9am and 5pm on weekdays only.
Once the screed is dry, tiles are laid on adhesive mortar. Most tile adhesives require 24 hours before any foot traffic. During this period the area must be left undisturbed. For larger flats or complex tile patterns, laying may continue into a second day.
Grout is applied between the tiles, skirting is reinstalled, and a final inspection is completed. Standard grout is walkable after 24 hours; epoxy grout requires 72 hours before heavy furniture is placed.
What You Need to Do Before Installation Day
- Clear the rooms. All furniture, rugs, and items on the floor must be removed before installation begins. Smaller items and personal belongings are best packed away the night before so the crew can start laying at 9am.
- Secure valuables. Store jewellery, documents, and important items safely before the crew arrives.
- Remove fragile items. Glass, ceramics, and loose decorative objects should be packed away to avoid accidental damage during installation.
- Ensure access is available. Make sure the main door is accessible and a point of contact is reachable on the day in case the team needs to reach you.
- Notify neighbours if hacking. HDB renovation permits typically cover this, but a courtesy heads-up to adjacent units is always appreciated.
Pro tip from 500+ installations: The single biggest cause of delays is rooms that aren't fully cleared when the crew arrives. Get the furniture, rugs and loose items out the evening before, valuables and fragile things first, so laying can start at 9am.
For a full comparison of our vinyl range and what works best in each room, read our complete HDB Flooring Guide 2026. If you want to know how our LVT compares with the SPC planks sold elsewhere in the market, our SPC vs LVT comparison explains the difference. If you are weighing a tiled finish instead, our tiles page covers what we supply and install.